Suggested Videos
Part 105 - Create google oauth credentials - Client Id and Client Secret | Text | Slides
Part 106 - ASP.NET Core google authentication - Setting up the UI | Text | Slides
Part 107 - ExternalLoginCallback action in asp.net core | Text | Slides
To integrate Facebook authentication in asp.net core application, we have to first register our application with Facebook and obtain AppId and AppSecret.
Register asp.net core application with Facebook
Step 1 : Log into https://developers.facebook.com
Step 2 : Click on My Apps dropdown and click Create App button

Step 3 : Create a New App ID
Specify a display name for the client application. This is the name that is displayed on the consent screen. The email associated with your Facebook account is in the Contact Email textbox. Click Create App ID button to create the app.
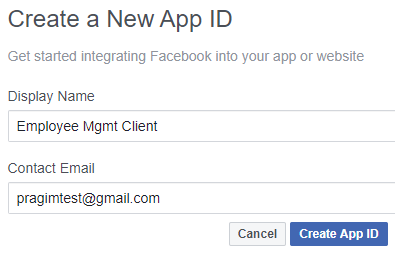
Step 4 : Click Setup button the Facebook Login product
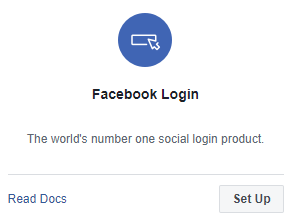
Step 5 : Click on the Settings tab under Facebook Login on the left navigation menu
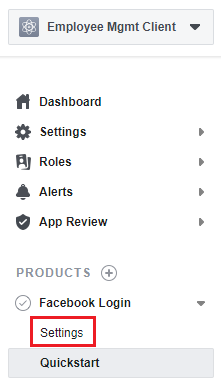
Step 6 : Enable Client OAuth Login.
Also specify Valid OAuth Redirect URI. This is the URI at which your application is hosted. To this URI append that path segment /signin-facebook. Finally click Save Changes.
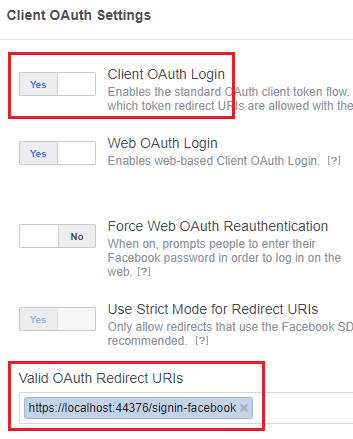
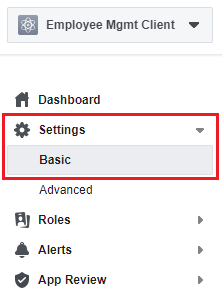
Step 7 : On the left navigaton menu, click on the Basic tab under Settings to obtain App ID and App Secret
We need this App ID and App Secret to integrate Facebook authentication in our asp.net core application.

Part 105 - Create google oauth credentials - Client Id and Client Secret | Text | Slides
Part 106 - ASP.NET Core google authentication - Setting up the UI | Text | Slides
Part 107 - ExternalLoginCallback action in asp.net core | Text | Slides
To integrate Facebook authentication in asp.net core application, we have to first register our application with Facebook and obtain AppId and AppSecret.
Register asp.net core application with Facebook
Step 1 : Log into https://developers.facebook.com
Step 2 : Click on My Apps dropdown and click Create App button

Step 3 : Create a New App ID
Specify a display name for the client application. This is the name that is displayed on the consent screen. The email associated with your Facebook account is in the Contact Email textbox. Click Create App ID button to create the app.

Step 4 : Click Setup button the Facebook Login product

Step 5 : Click on the Settings tab under Facebook Login on the left navigation menu

Step 6 : Enable Client OAuth Login.
Also specify Valid OAuth Redirect URI. This is the URI at which your application is hosted. To this URI append that path segment /signin-facebook. Finally click Save Changes.

Step 7 : On the left navigaton menu, click on the Basic tab under Settings to obtain App ID and App Secret

We need this App ID and App Secret to integrate Facebook authentication in our asp.net core application.

No comments:
Post a Comment
It would be great if you can help share these free resources